In this example I review how to install InsightIQ 5.0 (IIQ) using an NFS datastore on your PowerScale cluster. There are many changes in InsightIQ 5.0, however, they are mostly cosmetic, and the other change is it is now being deployed using Kubernetes. This has unfortunately gone a little backwards with some of the datastore options you used to have. You can’t relocate a datastore from a local datastore to an NFS export without redeploying.
You don’t have to follow these instructions exactly, but if you aren’t familiar/experienced with NFS this example will help you segregate your data into a different access zone as IIQ 5.0 requires no_root_squash to the appliance. In addition to segregating IIQ data from the rest of your data for security, it also makes it so you can define separate SnapshotIQ and SyncIQ policies if you want.
No_root_squash is giving your IIQ 5.0 appliance root user root access to your PowerScale file system where you make your export, so you don’t want to inadvertently give IIQ 5.0 full access to your entire file system.
Currently IIQ 5.0 requires no_root_squash, an IP connection to an NFS export (DNS names are stripped and will use the local datastore), mount access to subdirectories, and 777 on the export path.
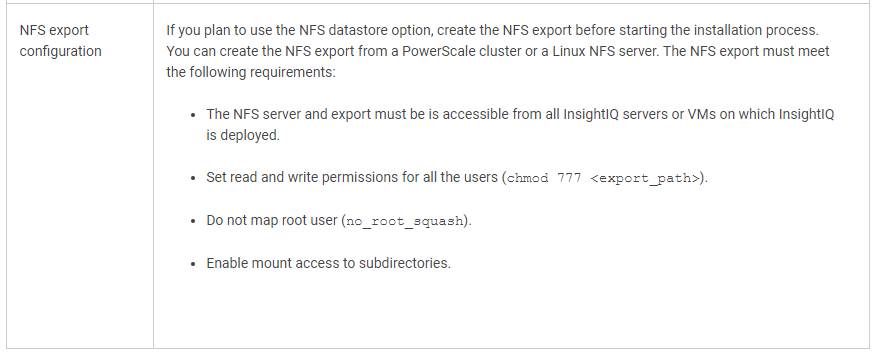
This install covers the IIQ 5.0 simple deployment, the Scale version has the same requirements for initial installation, just more IPs and your own Linux VMs.
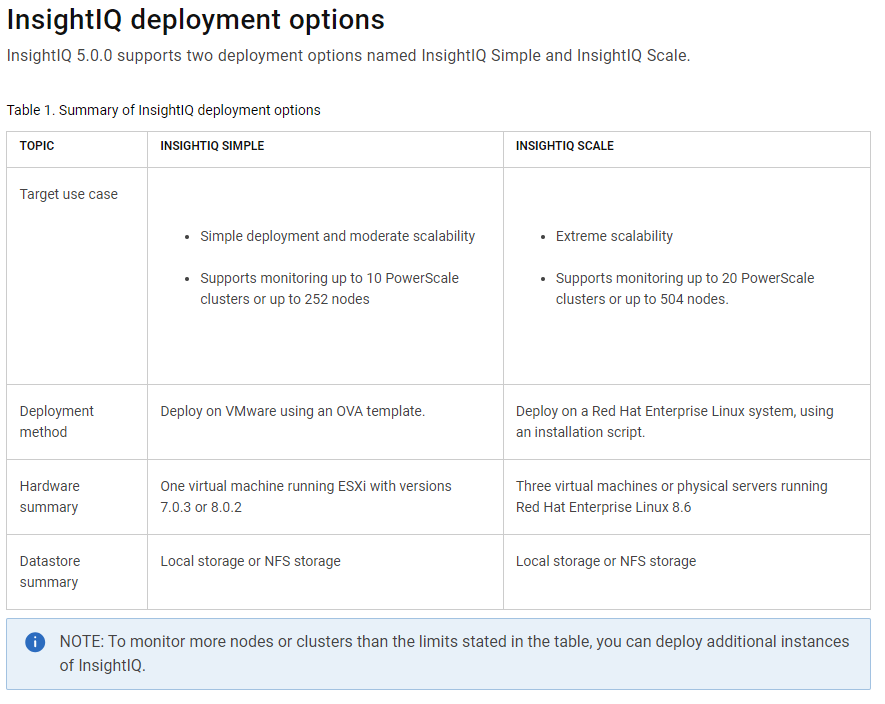
This is a chart with space usage estimations, you will want to put a quota on the directory because IIQ will use all the space and then recycle old data. If you want more history increase your quota size.
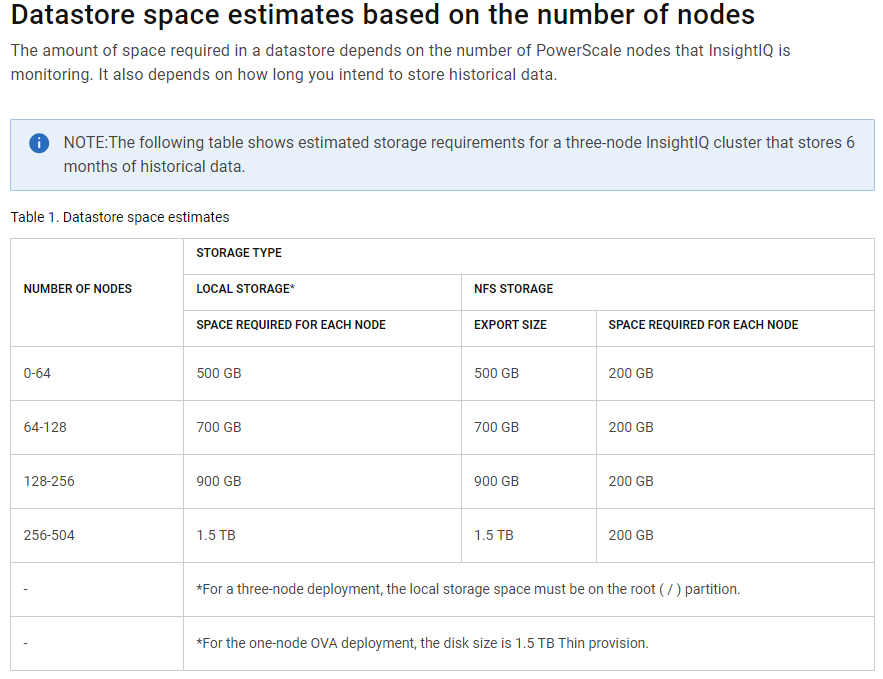
Access Zone needs to be created – whatever you want to name the Access Zone, just don’t nest it under another Access Zone, and make a directory for it.

Do a chmod 777 on your directory while logged in as root ‘chmod 777 /ifs/iiq’

Have a network pool assigned to your access zone

Put the host in the ‘Clients’ field and ‘Root Clients’ field in the export, make sure to enable mount access to subdirectories.
NOTE: If you do not specify any clients, all clients on the network are allowed access to the export. If you specify clients in any of the rule fields, such as Always read-only clients, the applicable rule is only applied to those clients. However, adding an entry to Root clients does not stop other clients from accessing the export. If you add the same client to more than one list and the client is entered in the same format for each entry, the client is normalized to a single list in the following order of priority: ● Root clients ● Always read-write clients ● Always read-only clients ● clients
root clients Specifies one or more clients to be mapped as root for the export. This setting enables the following client to mount the export, present the root identity, and be mapped to root. Adding a client to this list does not prevent other clients from mounting if clients, read-only clients, and read-write clients are unset.

Staring with Insight IQ 4.4.1 and OneFS 9.3 a new feature – performance datasets – was added. To be able to view these statistics you need to modify the insightiq user on your cluster, change the password, and enable it. You also need to ssh to a system IP/FQDN and login with InsightIQ and change the password again, when you change the password via the GUI it is forcing you to reset on next login.
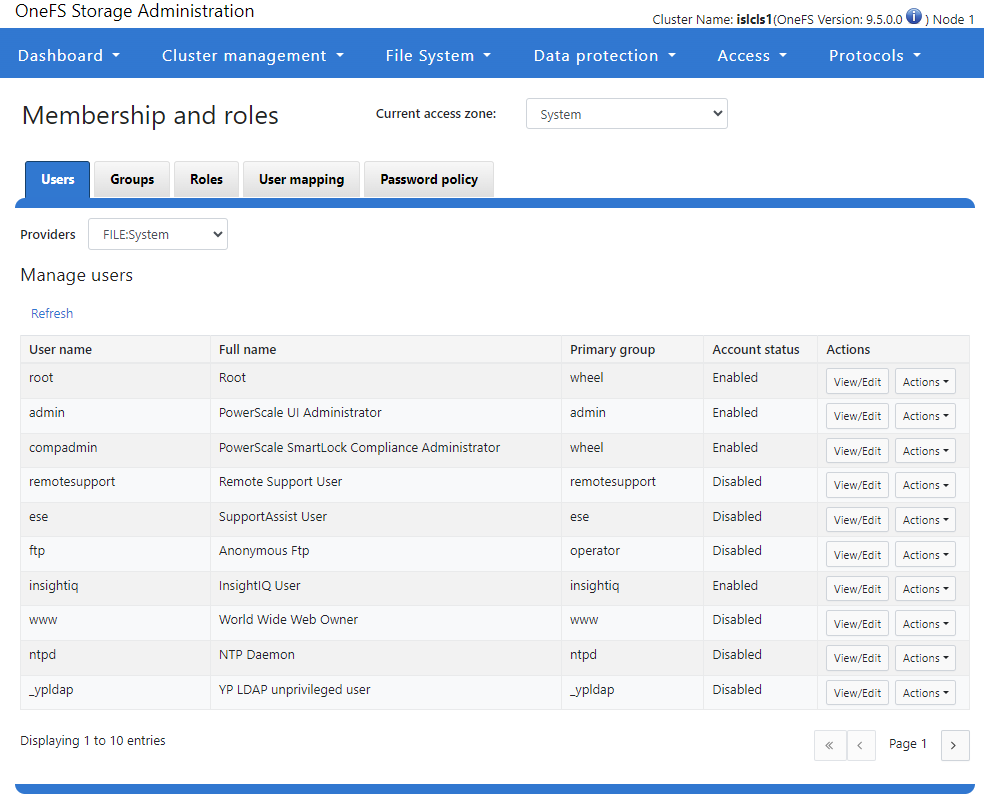
NOTE:InsightIQ generates a Partition Performance Report for monitored clusters. To view this report for the PowerScale cluster that you added, the insightiq user requires an additional (new) privilege. The insightiq user requires the ISI_PRIV_PERFORMANCE privilege with read permission.
The insightiq user is a OneFS user. A OneFS administrator must grant this privilege in OneFS. For detailed steps, see the “Reporting” chapter in the Dell Technologies InsightIQ 5.0.0 Administration Guide.
On the PowerScale OneFS user interface, create a new role.
See the PowerScale OneFS Administration Guide for more information.
Add the existing insightiq file system user to the newly created role.
In Privileges, give read permission for Performance: Configure performance resource accounting.
This step assigns the ISI_PRIV_PERFORMANCE privilege with read permission.
Select Submit.

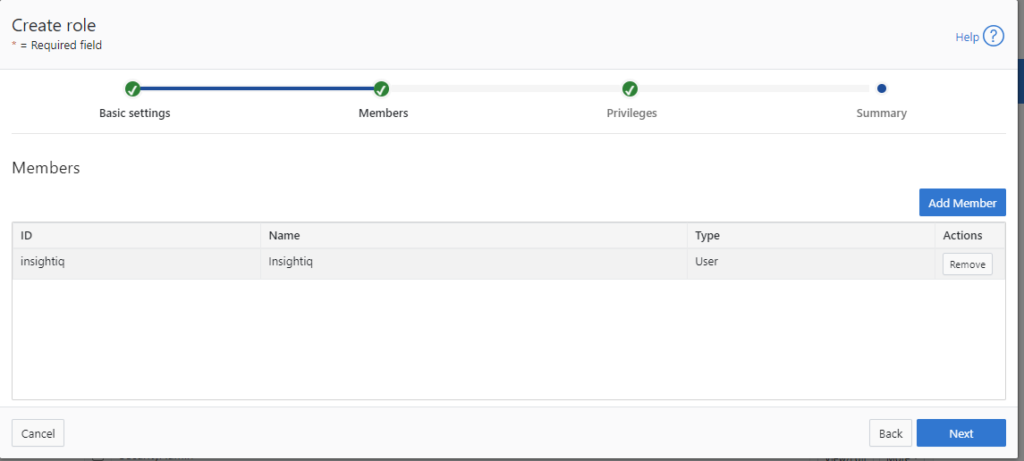
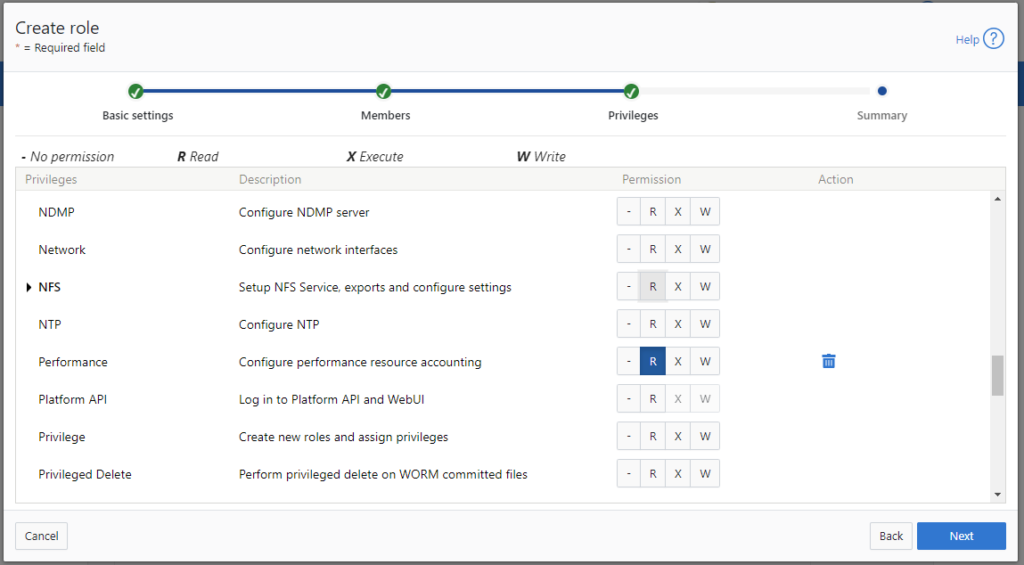
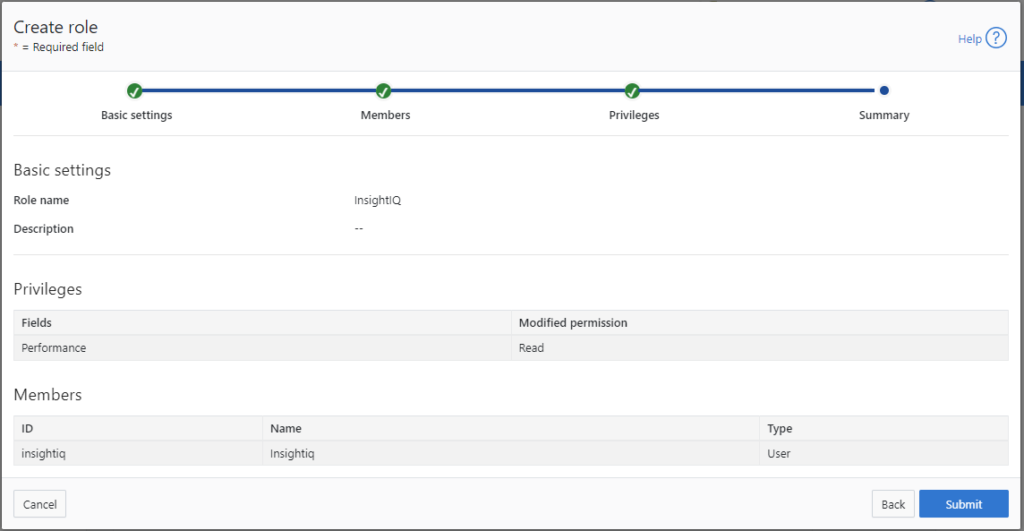
The above is all the necessary pre-work you need, now you can deploy your OVA or 3 node cluster.
Here are my settings for the OVA, the ‘VM IP’ address is used for SSH, NFS export mounting, system stuff. The ‘InsightIQ service IP Address’ is the IIQ Web UI address.
If you’re doing the 3 node cluster, you need to install it using your own Linux VMs, and you will need a total of (4) IPs, one for each VM, and one for the IIQ service IP.
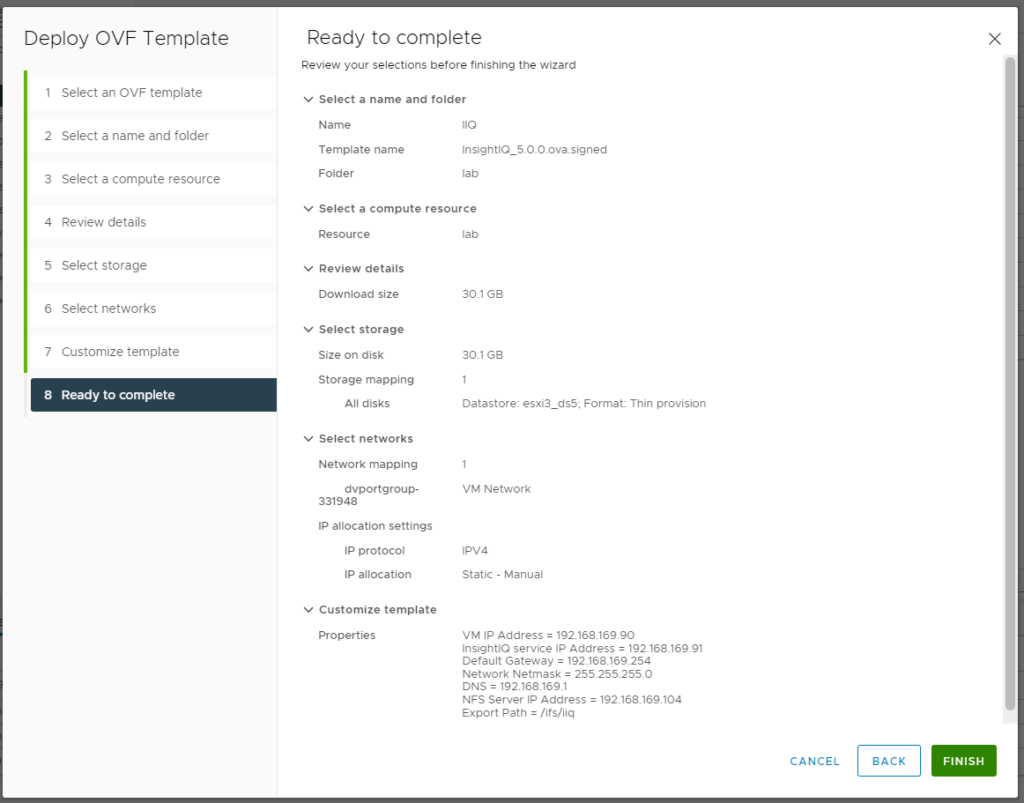
Power on your VM, depending on your environment it will take ~2 hours to deploy.
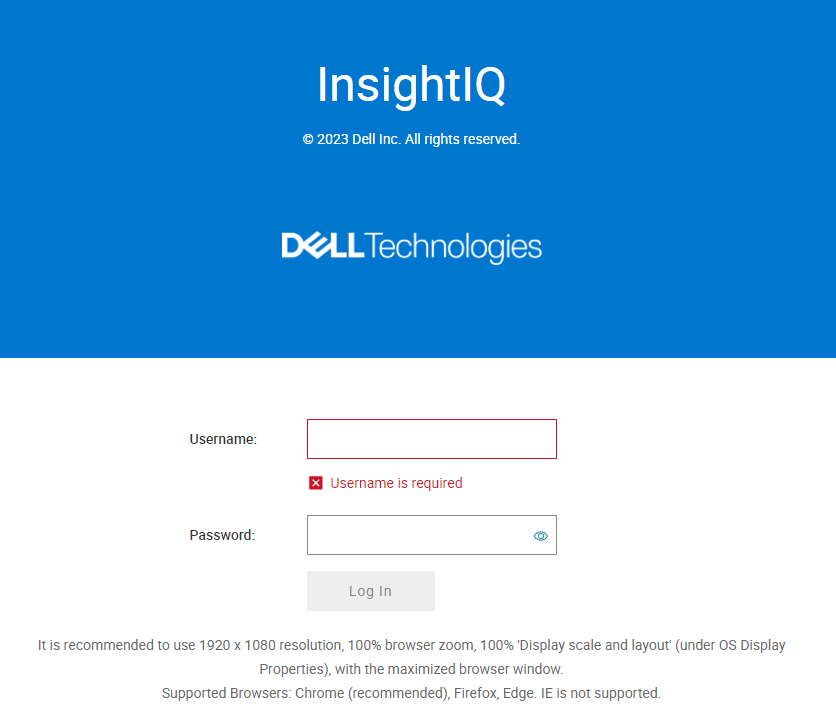
Once completed go to the web login, add in :8000/insightiqui after the DNS name/IP address you use to connect. The username is ‘administrator’ and the password is set during the deployment.
https://YOURIP:8000/insightiqui/
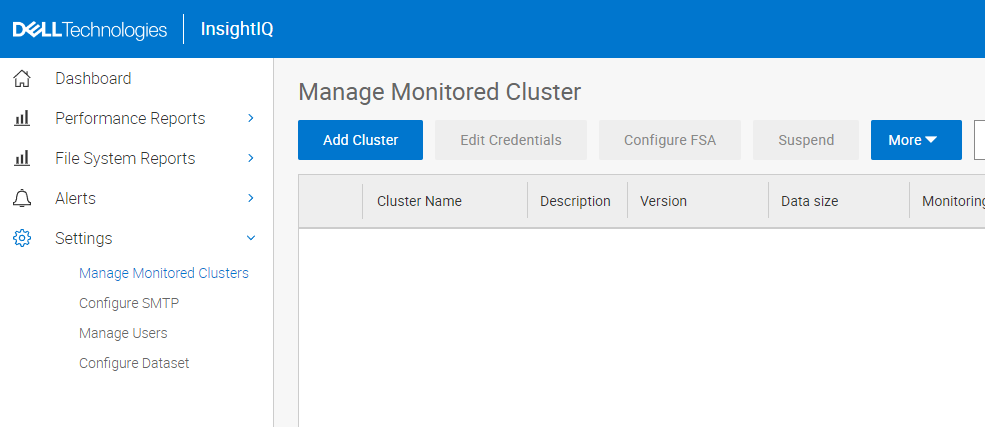
Add the cluster, the SmartConnect Service Name and SmartConnect Service IP are invalid options, you need to add an IP from either an IP from an IP pool that has a connection to the System Access Zone, or a DNS name. Do not use the root user to add the cluster, this was an example to show even using root won’t work to the SmartConnect Service IP.

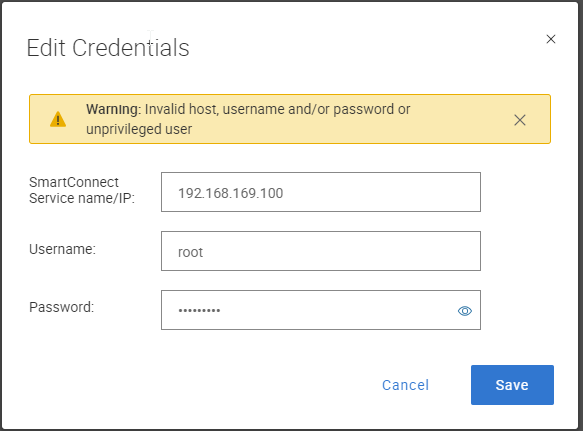
Here you can see I am attempting to add my cluster using the SSIP with the root user even, doesn’t work. OneFS 8.2 disabled login via the SSIP. The documentation is incorrect.
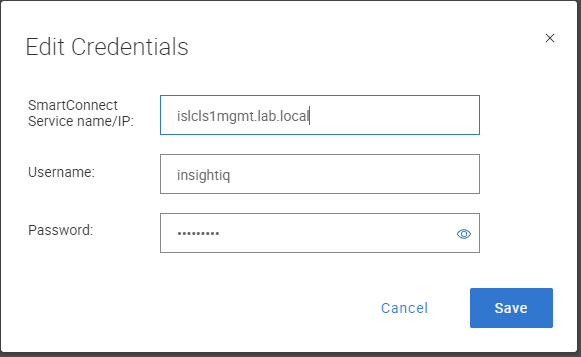
Here you can see I’m using the SmartConnect Zone Name for connection. This works.
Documentation regarding SmartConnect Service IPs
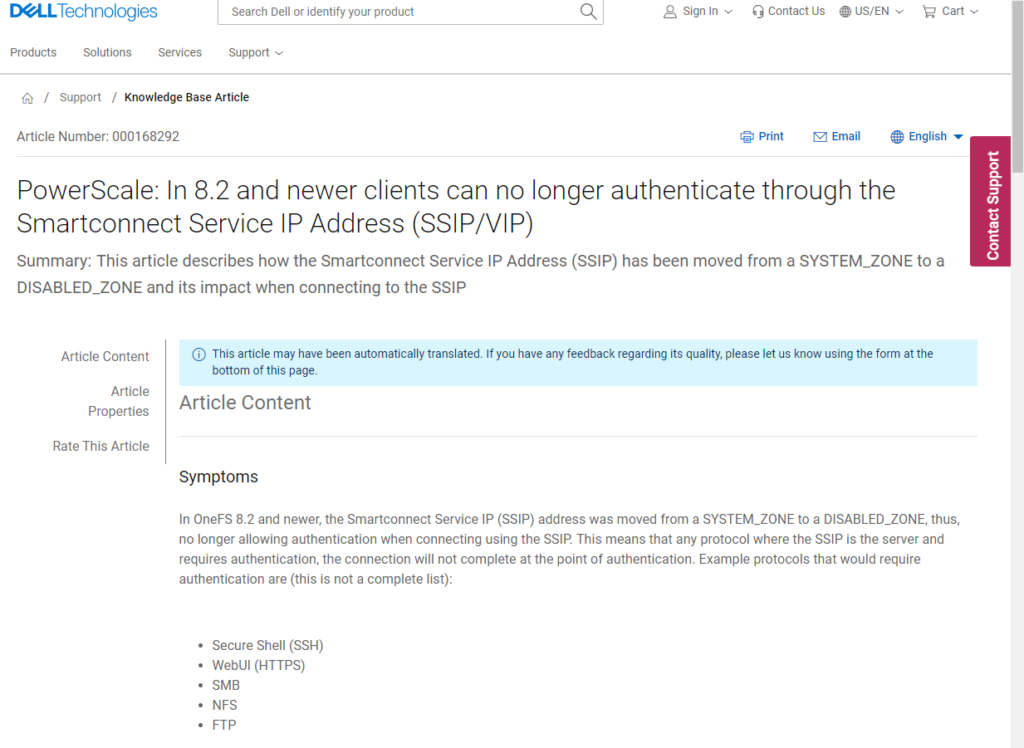
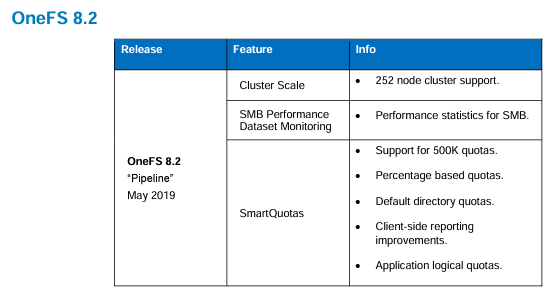
The SmartConnect Service IP has been disabled since May 2019 in OneFS 8.2, InsightIQ 5.0 was released in December 2023.
This completes the initial installation of InsightIQ 5.0.

